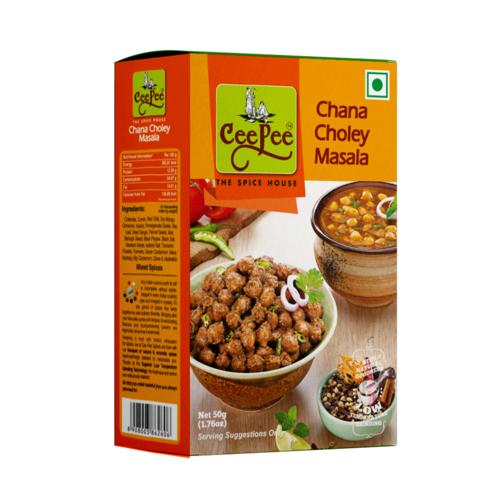
Chana masala is a popular and flavorful Indian dish that features chickpeas simmered in a spicy tomato-based sauce. As with many Indian dishes, chana masala traditionally includes ingredients that are not vegan or gluten-free. But don’t worry! With a few simple modifications, you can easily make a vegan or gluten-free version of this delicious dish. In this article, we’ll share some tips and tricks for making chana masala that is both vegan and gluten-free.
What is Chana Masala and Why is it So Popular?
Chana masala is a North Indian dish that has become a favorite all over the world. It is typically made with chickpeas (also known as chana) that are simmered in a flavorful tomato-based sauce, along with a variety of spices such as cumin, coriander, and garam masala. The result is a hearty and satisfying dish that is perfect for vegetarians and meat-eaters alike.
While chana masala is a beloved dish, it often includes ingredients such as ghee (clarified butter) or yogurt that are not vegan. Additionally, the sauce may be thickened with wheat flour, which makes it unsuitable for those who are gluten-intolerant. However, with a few simple substitutions, chana masala can be made vegan and gluten-free without sacrificing any of its delicious flavors.
How to Make Chana Masala Vegan
To make chana masala vegan, you’ll need to replace the ghee and yogurt that are typically used in the recipe. Instead of ghee, you can use a neutral oil such as canola or vegetable oil. This will still add richness to the dish, but without the animal products. Similarly, you can replace the yogurt with a vegan yogurt alternative, such as coconut yogurt or soy yogurt.
Another key ingredient in chana masala is garam masala, which is a spice blend that typically includes cinnamon, cardamom, and cloves. To ensure that your chana masala is vegan, make sure that the garam masala you are using does not contain any animal products, such as powdered milk. You can also make your own garam masala at home using vegan ingredients.
How to Make Chana Masala Gluten-Free
The main ingredient in chana masala, chickpeas, is already gluten-free. However, the sauce is typically thickened with wheat flour, which contains gluten. To make the dish gluten-free, you’ll need to replace the wheat flour with a gluten-free alternative.
One option is to use chickpea flour (also known as besan) to thicken the sauce. This is a great choice since it is made from the same ingredient as the dish itself. Simply mix the chickpea flour with water to form a paste and add it to the sauce as it cooks. Another option is to use gluten-free all-purpose flour, such as rice flour or cornstarch, to thicken the sauce.
Tips and Tricks for Cooking the Perfect Chana Masala
Chana Masala is a popular Indian dish that is loved by people all over the world. It is a simple and healthy dish that can be made with basic ingredients and a few tips and tricks. At Ceepee Spices, we believe in providing our customers with high-quality spices that can take their cooking to the next level. In this article, we will share some tips and tricks to help you cook the perfect Chana Masala using our spices.
To start with, it is important to soak the chickpeas for at least 8 hours to ensure they are soft and easy to cook. Once the chickpeas are ready, add them to a pan with onions, tomatoes, and a blend of Ceepee Spices such as cumin, coriander, turmeric, and garam masala. Let the spices simmer for a while to allow the flavours to blend together.
One of the key tips for cooking the perfect Chana Masala is to not overcook the chickpeas. Overcooking can make the chickpeas too mushy and lose their texture. It is important to keep an eye on the texture of the chickpeas and add water as necessary.
Conclusion
In conclusion, using high-quality spices such as Ceepee Spices can take your Chana Masala to the next level. By following these tips and tricks, you can cook the perfect Chana Masala every time. So, head to your kitchen, grab your Ceepee Spices, and start cooking!
